
Flood Recovery: Mold, Water Damage, and Getting Back in Your Home
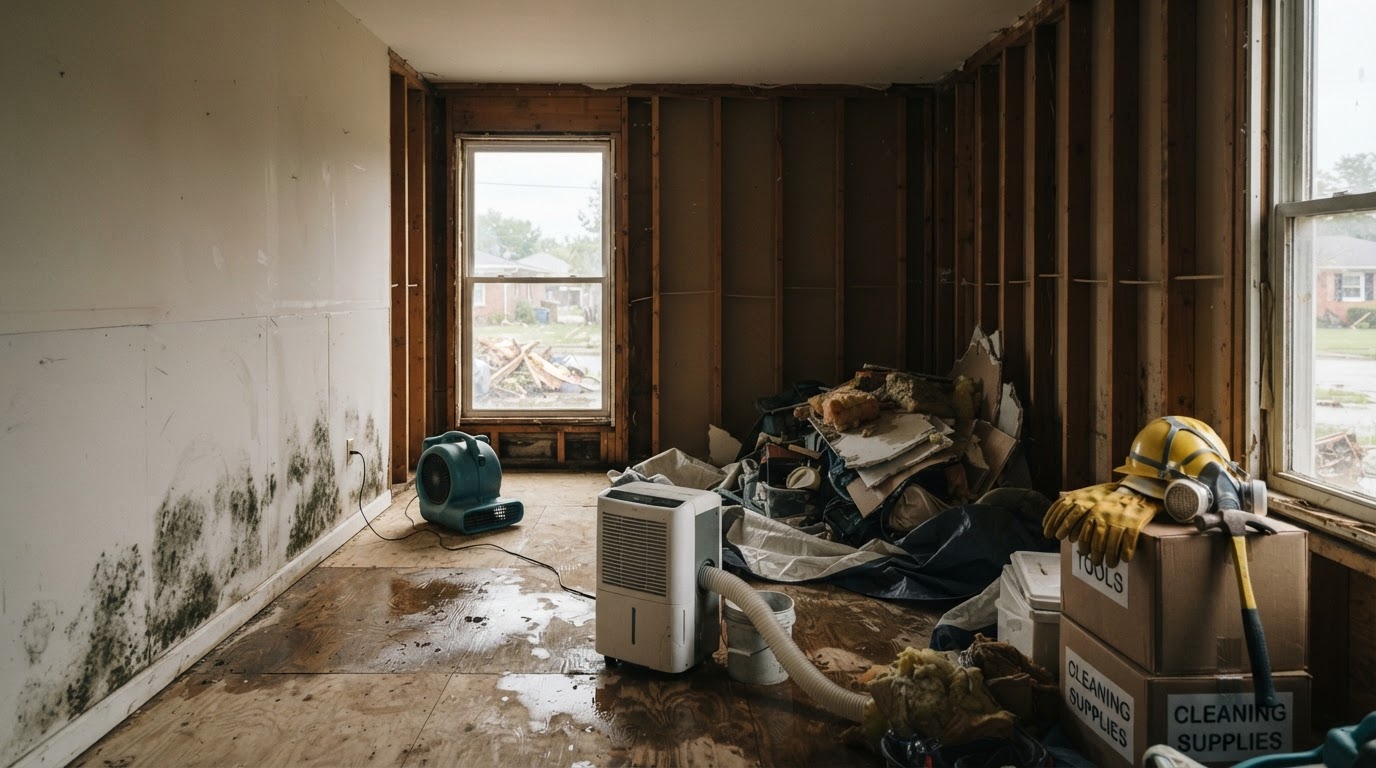
Flood recovery: mold dangers, what to toss vs keep, safe drying without generators, contractor scams, and how to claim FEMA assistance and insurance help.
This article contains affiliate links. If you buy through these links, we may earn a small commission at no extra cost to you.
The water is gone. The work is just beginning.
Texas Hill Country's July floods left families gutting waterlogged homes for weeks. Cincinnati neighborhoods are still dealing with sewage and flood damage.
Most eligible families never apply for FEMA. The recovery feels overwhelming, so people skip steps that protect their health and their claim. This guide covers the first 72 hours, mold, safe drying, contractor scams, and the claims process.
The First 72 Hours of Flood Recovery
Your actions in the first three days decide how much you can salvage.
- Call your insurance company before you touch anything. Open the claim and they tell you what documentation they require.
- Document everything with photos and video. Shoot every room before moving a single item.
- Separate damaged items into three piles: toss, maybe salvage, and keep. Don't throw anything away until your insurer or FEMA has seen it.
- Wear the right gear. Floodwater is contaminated. Rubber boots, heavy gloves, and an N95 are non-negotiable. PVC boots like CLC Climate Gear R230 Over-The-Sock PVC Rain Boot go over any shoes; the 3M Aura N95 Particulate Respirator 9205+ is NIOSH-approved.
- Turn off power and gas if there's standing water or the panel was submerged.
Keep a paper log too. Phones die, and a notebook with dates, times, and itemized losses is what you hand an adjuster. A Rite in the Rain Weatherproof Pocket Notebook, 3.5… (about $8) takes pencil or all-weather pen even when wet, so the log holds up in a damp house.
Why Mold Is the Real Enemy
Flood recovery is a race against mold. Spores start growing within 24 to 48 hours. By week two, it's moved into wall cavities.
The rule: porous items absorb water and mold and can't be saved. Non-porous items can be cleaned.
| Material | Toss or Keep | Why |
|---|---|---|
| Drywall and plaster | Toss | Wicks water up the wall; mold grows inside within days |
| Insulation | Toss | Traps moisture and mold |
| Carpet and padding | Toss | Nearly impossible to dry fully |
| Mattresses and pillows | Toss | Mold grows in the core |
| Upholstered furniture | Toss | Foam is a sponge |
| Paper, cardboard, books | Toss | Mold feeds on cellulose |
| Solid wood furniture | Maybe keep | Clean and dry quickly |
| Ceramic, glass, metal | Keep | Wash and disinfect |
| Plastic and sealed counters | Keep | Wash and disinfect |
| Food that touched floodwater | Toss | Floodwater is sewage |
| Appliances submerged | Toss | Fire risk and hidden mold |
The cleaning recipe: wash with soap and water first, then disinfect with 1 cup of household bleach per gallon of water (never mix with ammonia). Ventilate and wear gloves, goggles, and an N95 mask.
Safe Drying: Dehumidifiers, Fans, and the Generator Rule
Drying out a flooded home takes weeks.
- Start airflow early. Open windows if drier outside. Cut drywall 12 inches above the waterline.
- Extract standing water first. A wet/dry vac handles the soggy-carpet pass before a dehumidifier can pull from the air. The Stanley SL18116P Wet/Dry Vacuum (6 Gallon) moves 6 gallons at a time for about $57.
- Run dehumidifiers hard. A 1,500-sq-ft unit like the Midea 22 Pint Dehumidifier (1,500 sq ft) covers a whole floor.
- Pull carpet and padding early.
- Be patient with wood. A dehumidifier plus low heat dries framing safely.
Never run a gasoline generator indoors, in a garage, or near open doors and windows. After floods, CO poisoning spikes because families plug the generator in the garage. Place generators at least 20 feet from the house. A battery station like the EcoFlow RIVER 3 Portable Power Station runs pumps without fumes.
Contractor Red Flags and Scam Patterns
Disasters bring out the worst in contractors.
- Door-to-door "storm chasers" who knock within days and demand cash upfront.
- "Cash discount" pressure. Cash-only or no references is a red flag.
- Unlicensed "experts." Verify the license with your state's contractor board.
- Advance payments over one-third. Pay in installments tied to milestones.
- Mold "inspectors" who are also "removers." Same company selling both is a conflict.
Get three written quotes, check licenses and reviews, and document every payment. Report suspicious activity to the FTC and your state attorney general.
For pre-flood prep that makes recovery cheaper, see our flood safety before, during, and after guide.
FEMA Assistance and SNAP: Apply, Even If You Think You Won't Qualify
FEMA disaster assistance is available in declared counties, and most eligible families never apply. People assume they don't qualify or that applying means taking a loan. Grants don't have to be repaid.
- Apply right away at DisasterAssistance.gov or by phone.
- Get your disaster registration number.
- The inspection. If your home is unlivable, tell them.
- Appeal if denied. Most denials are paperwork problems. You have 60 days to appeal.
- Track every call.
SNAP replacement benefits: if you received SNAP and lost food, you're entitled to replacement. Check your state's SNAP office, usually 10 to 14 days.
Insurance Claims: What to Expect on the Timeline
Flood insurance (NFIP) and homeowners insurance follow different timelines. Most flood damage isn't covered by standard homeowners policies; flood coverage is separate.
Realistic timeline: adjuster visit within days to a few weeks; payment after. During high-volume disasters, adjusters are stretched. What moves the claim forward is documentation:
- Photos and video taken before you cleaned up
- A written inventory with replacement values
- Receipts for emergency expenses
- Contractor quotes for repairs
- Your policy number and disaster registration number ready on every call
Keep every receipt; many policies reimburse emergency measures. Don't submit without a copy.
Adjusters work for the insurance company, not for you. If the settlement feels low, push back with your own contractor quotes.
Staying Safe and Armed for the Work
Gutting a home is hard labor with contaminated debris. A stocked first aid kit is how you handle cuts from demolition. On a budget, the First Aid Only 298-Piece All-Purpose Kit covers the basics. For waterproof organization, the SurviveX Large First Aid Kit is the better fit.
After the moldy drywall is gone, run a HEPA purifier like the Levoit Core 300 Air Purifier in the rooms you're working in. It filters airborne spores while you clean.
Quick Recommendations
- Document first: phone video, written inventory, receipts.
- Gear up: boots, gloves, an N95 per person (3M Aura N95 Particulate Respirator 9205+), first aid kit (First Aid Only 298-Piece All-Purpose Kit on a budget, SurviveX Large First Aid Kit for waterproof).
- Power without dying: never run a generator indoors; use EcoFlow RIVER 3 Portable Power Station for pumps.
- Air while you work: Levoit Core 300 Air Purifier filters mold spores.
- Apply for FEMA the day your county is declared.
- Toss porous materials within 48 hours.
Flood recovery is a marathon; the first 72 hours decide the finish.