
Home Canning and Drying Starter: What Needs Pressure
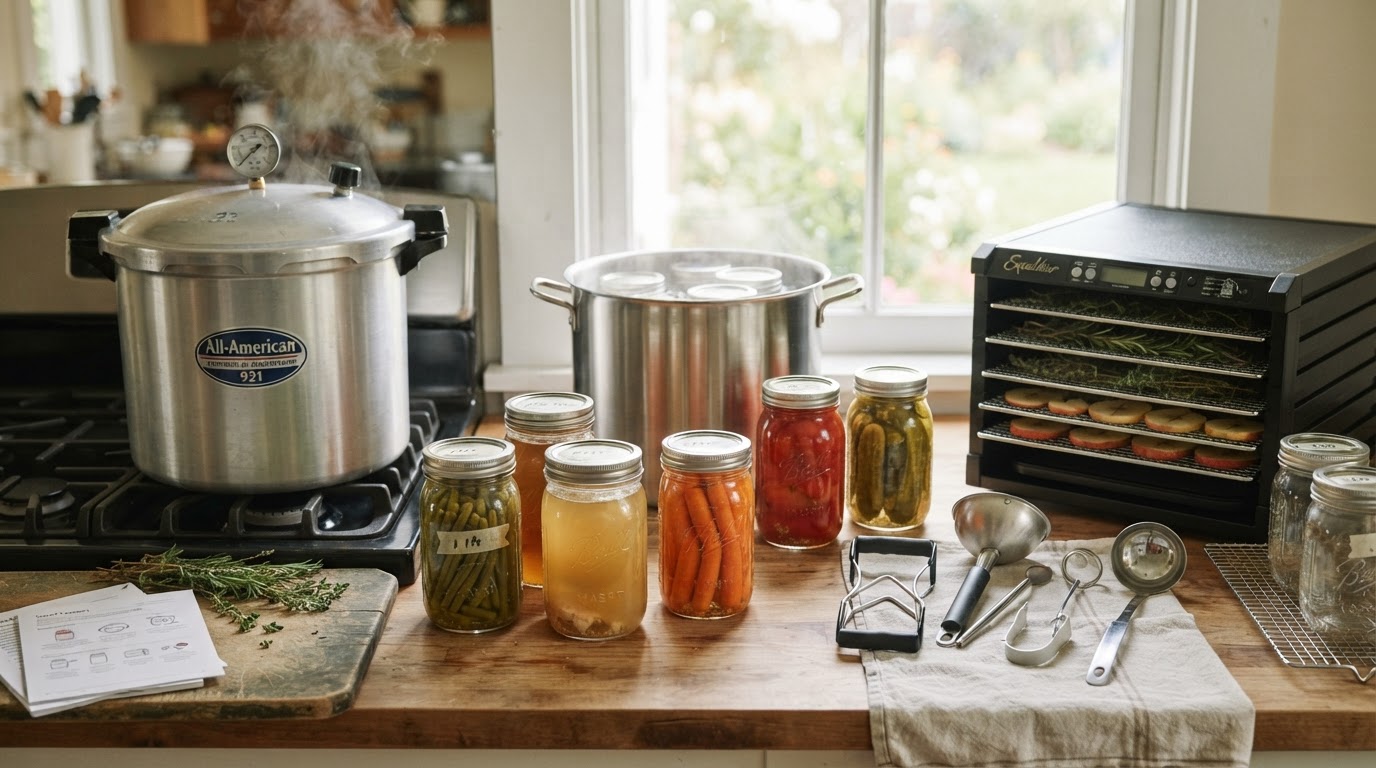
Preserve harvest safely with tested methods: what needs pressure canning vs water-bath, plus drying. Botulism rules, tools, jars and storage in one plan.
This article contains affiliate links. If you buy through these links, we may earn a small commission at no extra cost to you.
Canning the wrong food the wrong way can grow botulism, which you cannot see, smell or taste. This starter plan keeps the rule simple: low-acid foods need pressure, high-acid foods can water-bath, everything else dries or stores another way. For jar checks and shelf life, see our canned food shelf life guide.
Quick answer: Pressure-can meats, plain vegetables, seafood and stocks. Water-bath only high-acid fruits, jams and properly acidified pickles and tomatoes. Use tested USDA or NCHFP recipes, adjust for altitude, and dry the surplus you cannot can safely.
Pressure vs water-bath in one rule
Acidity decides the method. Foods at or below pH 4.6 count as high acid and suit boiling-water canning, per USDA guidance. Everything above that line is low acid and must be pressure canned. No exceptions for family recipes, oven methods, open-kettle pouring, or dishwasher heat, none of which reach or hold safe heat, per NCHFP guidance.
Low-acid list: red meats, poultry, seafood, plain vegetables including green beans, carrots, corn and potatoes, plus soups, stocks and mixed recipes containing them. These need a vented pressure canner run at the recipe pressure, commonly 10 to 15 PSI by gauge type and altitude, which heats food past 240F, per USDA guidance. Boiling water tops out near 212F at sea level and cannot kill C. botulinum spores.
High-acid list: most plain fruits, jams and jellies, and tomatoes or pickles acidified exactly as a tested recipe directs. Acid strength matters. Never cut vinegar, lemon or lime in a recipe, and never thicken soup or sauce beyond the recipe before processing. When in doubt, freeze, dry, or refrigerate the batch instead of guessing a canning process.
Use tested recipes and adjust for altitude
Water boils cooler at altitude, so processing times and pressures shift up. Every tested recipe states its altitude adjustment. Follow the USDA Complete Guide or NCHFP tables for your pack, jar size and elevation. Do not scale up jar size, do not invent processing times, and do not reuse single-use lids for shelf-stable canning.
Vent the pressure canner as directed before pressurizing, watch the gauge, and cool naturally as directed. After cooling, check each seal: the lid should curve down and stay put when pressed. Remove bands for storage so a failed seal shows instead of hiding under a rusted band. Wipe jars, label with contents and date, and store cool, dark and dry. Our food and water storage guide covers rotation and pantry setup for the finished jars.
The tools that make it safe and fast
A 22-quart canner handles real batches: the T-fal canner below holds 7 quart jars or 18 pint jars per batch, plus smaller counts for wide-mouth and half-pint sizes, per the T-fal product listing. It also handles boiling-water batches for high-acid foods, so one vessel covers both methods. Two racks and a guide ship with it. Use it on gas or coil electric ranges as directed, never on glass tops it is not rated for.
Small tools prevent burns and failed seals. The kit below bundles the pieces beginners fumble without: a jar lifter for hot jars, a wide-mouth funnel for clean rims, a rack to keep jars off direct heat, plus tongs, a lid lifter, a wrench and a bubble popper for headspace, per the Pisol product listing. Wipe rims, pop bubbles, set headspace as the recipe states, and center lids before bands go on fingertip tight.
Jars carry the batch. The 6-pack below gives 16-ounce wide-mouth glass jars with lids and bands plus measure marks, per the Miuyhji product listing. Inspect every jar for nicks on sealing edges, wash before filling, and keep hot foods in hot jars as recipes direct. For garden surplus planning, see our calorie garden starter.
Dry what you cannot can
Drying suits fruit, vegetables and jerky when you follow heat rules. Blanch vegetables first as directed, dry at steady heat with airflow, and condition dried fruit in jars before long storage. For jerky, heat meat to a safe internal temperature and dry to a stable texture per tested guidance, then refrigerate or freeze what you will not eat fast. Dried food is not sterile, so keep it dry, airtight and cool.
The dehydrator below runs 600W with a rear fan, 7 stainless trays, a wide heat range and a long timer, per the Magic Mill product listing. Steel trays clean easier than plastic and hold up to steady use. Slice evenly, do not overload trays, and let pieces cool before the snap test. Pack cooled pieces airtight with dates, and check for moisture in the first days.
Starter checklist
See Gear Worth Buying for the four picks referenced below.
| Item | Why | Source |
|---|---|---|
| Tested USDA or NCHFP recipes | Only safe processes | USDA Complete Guide |
| Pressure canner with gauge and racks | Low-acid safety | see pick below |
| Canning tool kit | Safe lifts and clean rims | see pick below |
| Jars, lids and bands inspected | Seal depends on edges | see pick below |
| Dehydrator for overflow | Dry what you cannot can | see pick below |
| Labels, dates, cool dark store | Rotation and early warning | Pantry shelf |
| When in doubt, throw it out | No tasting suspect jars | CDC guidance |
Gear Worth Buying
- T-fal 22-Quart Aluminum Pressure Canner with Racks… (~$124.99, 4.4 stars): 22-quart canner for pressure batches plus water-bath use for high-acid foods.
- Pisol 7-Piece Canning Starter Kit with Rack, Funnel… (~$23.98, 4.6 stars): rack, funnel, jar lifter, tongs, lid lifter, wrench and bubble popper.
- Miuyhji 16 oz Wide-Mouth Mason Jars with Lids… (~$19.85, 4.5 stars): six 16-ounce wide-mouth jars with lids and bands.
- Magic Mill MFD-7700 Food Dehydrator with 7… (See current price, 4.7 stars): steel 7-tray dehydrator for fruit, vegetables and jerky.
Source notes: Methods, acidity line, pressures and spoilage rules per USDA Complete Guide to Home Canning and NCHFP guidance. Discard-suspect-food rule per CDC. Product specs per maker listings.
Frequently asked questions
What foods must be pressure canned?
Low-acid foods must be pressure canned: meats, seafood, plain vegetables, and soups or stocks, per USDA and NCHFP guidance. Boiling water cannot kill botulism spores. Only a pressure canner reaches the needed heat.
What can I safely water-bath?
High-acid foods with pH at or below 4.6: most fruits, jams and jellies, and properly acidified pickles and tomatoes, per USDA guidance. Always use tested recipes and adjust processing for altitude.
How do I know a jar sealed and stored safely?
Cool jars, check lids curve down and do not flex, remove bands, wipe, label and date. Store cool, dark and dry. If a lid bulges, leaks, spurts, foams, smells off, or you doubt the process, throw it out without tasting, per CDC guidance.