
How to Stop Severe Bleeding: Tourniquets, Wound Packing, and When Seconds Count (2026)
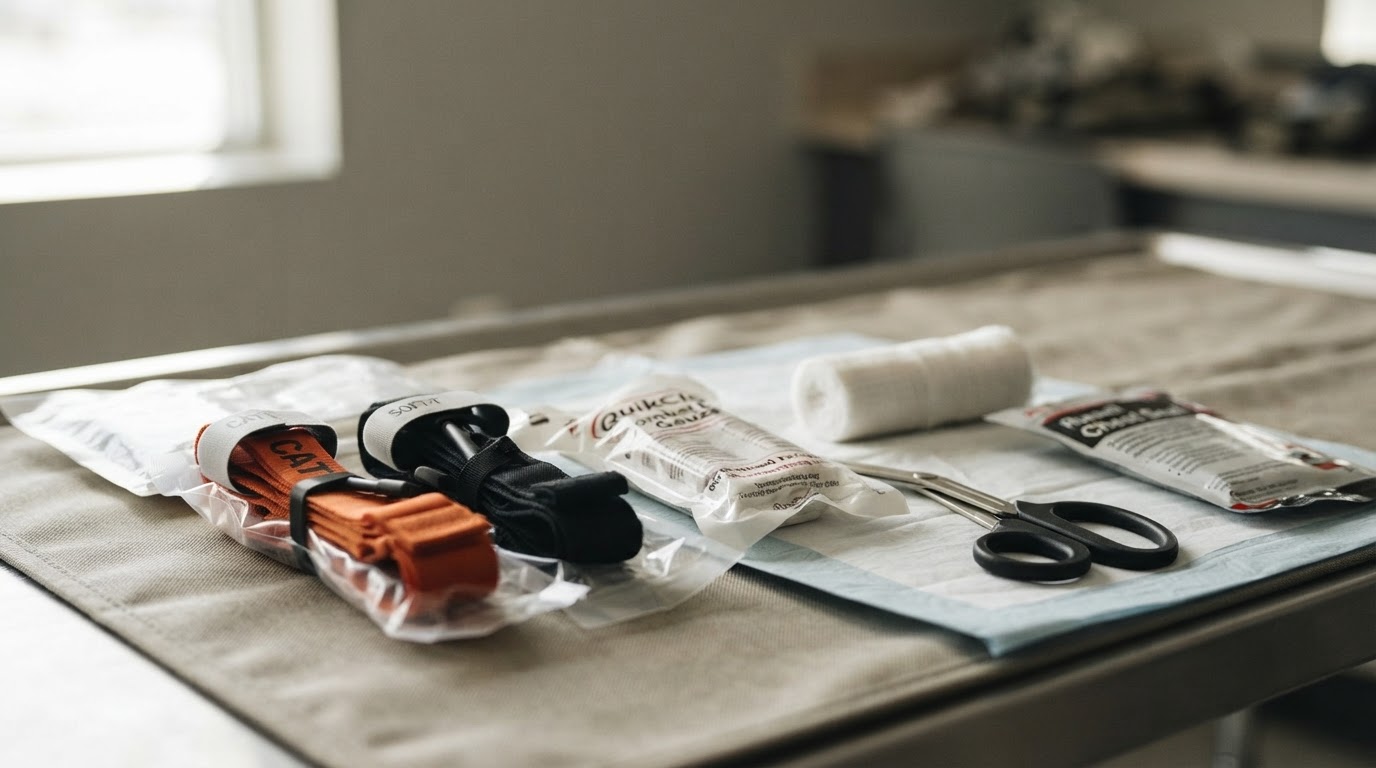
How to stop severe bleeding with a tourniquet, wound packing, and pressure. A practical Stop the Bleed guide for wounds you cannot ignore, with gear picks.
This article contains affiliate links. If you buy through these links, we may earn a small commission at no extra cost to you.
Severe bleeding can kill an otherwise healthy adult in under five minutes. Call 911, make sure the scene is safe, then control the bleeding with direct pressure, wound packing, or a tourniquet based on where the wound is.
These steps are short enough to remember, but a page cannot replace hands-on practice. Take a Stop the Bleed class before you need the skill. For burns, breaks, bites, and routine wound care, the ACEP First Aid Manual (DK, 5th Edition) is a useful shelf reference. For non-life-threatening wounds (cuts, scrapes, blisters, dressing changes), see emergency wound care.
Step 1: Know What Counts as "Severe"
Not every cut needs a tourniquet. Severe means:
- Pulsing or spurting blood or bleeding that flows continuously and will not stop
- Blood pooling on the ground or soaking through clothing and dressings quickly
- A partial or complete amputation with major bleeding
- Pale or clammy skin, dizziness, confusion, or unusual weakness, which can signal shock
If the wound is still oozing and you can control it easily with pressure, that's a standard dressing situation. The steps below are for life-threatening bleeding.
Step 2: The Tourniquet, For Limbs Only, and Higher Than You Think
Use a commercial tourniquet for life-threatening bleeding from an arm or a leg. Apply it promptly and follow 911 instructions while someone else brings help.
The four-step application:
- Place it 2–3 inches above the wound, between the wound and the heart, and never directly over a joint. If the bleeding site cannot be found quickly, place it high and tight on the limb. A wound at the shoulder or groin may need packing instead.
- Tighten until the bleeding stops. Pain is expected, but stopped bleeding is the check that matters.
- Secure the windlass and note the time. Write the application time on the tourniquet's TIME strap if possible, then tell EMS.
- If life-threatening bleeding continues, tighten the tourniquet or add a second one directly above the first.
What we recommend: the North American Rescue C-A-T Gen 7 is a commercial windlass tourniquet that can be routed for one-handed use. Buy from a traceable seller because counterfeit tourniquets can fail under tension.
→ North American Rescue C-A-T Tourniquet (Gen 7)
Two tourniquet mistakes to avoid:
- Waiting because you fear limb damage. Uncontrolled bleeding is the immediate threat. Apply the tourniquet when it is indicated and leave removal to EMS.
- Loosening it every 10 minutes. Once it has stopped the bleeding, leave it alone until EMS arrives. Loosening can restart the bleeding.
Step 3: Wound Packing When a Tourniquet Cannot Be Used
For life-threatening bleeding at the scalp, neck, shoulder or armpit, groin, or back, or from a limb when no tourniquet is available, maintain direct pressure. If you have wound-packing training, pack a deep wound while someone follows the 911 operator's instructions. Do not pack an open chest or abdominal wound.
- Push clean gauze directly into the wound. Placing it on top does not put pressure on the source.
- Pack until the wound is full, then hold firm, uninterrupted pressure until the bleeding stops. For hemostatic gauze, hold pressure for at least the time printed on the package.
- If blood soaks through, keep pressure on the original packing and add more material on top.
Hemostatic gauze contains an agent that supports clotting. The QuikClot Kaolin Clotting Gauze is a 2-foot Z-folded strip made for wound packing. Follow its package directions and keep pressure on the wound.
→ QuikClot Kaolin Clotting Gauze
Rule of thumb: use a tourniquet for life-threatening limb bleeding. If trained, pack a deep wound where a tourniquet cannot be used. Learn both skills in a hands-on Stop the Bleed class.
Step 4: What Your Bleeding-Kit Should Hold
If you already have a good first aid kit (see our 4 Best First Aid Kits), you have most routine supplies. Add:
- 2× North American Rescue C-A-T Tourniquet (Gen 7), one in the kit and one in the car, about $34.75 each
- 2× QuikClot Kaolin Clotting Gauze, about $13.49 each; trauma kits like the MyMedic MyFAK Pro may already include one
- 2× vented chest seals. An open chest wound gets covered with a seal, not packed; the North American Rescue HyFin Vent Chest Seal… twin pack runs about $19.95, one for the home kit and one for the car.
- Gloves + a marker. A Sharpie Permanent Markers Fine Point, Black, 5-Pack records the application time on the tourniquet TIME strap. The five-pack is about $4.39.
- A CPR face shield. Severe bleeding scenes often follow accidents, and if the person stops breathing, that becomes a CPR emergency (see our CPR and choking first aid guide). A keychain shield with a one-way valve like the LSIKA-Z CPR Face Shield Keychains (10-Pack) runs about $9 for ten, so the kit, the car, and your keys can each carry one.
A tourniquet you have never handled is harder to use under stress. Practice in a class with a dedicated training tourniquet, not by repeatedly tightening the one stored for an emergency.
Scene first, bleeding second. In an armed attack, run, hide and barricade, and fight only as a last resort. Apply first aid once the scene is safe. Our active shooter response guide covers those first decisions.
The Bottom Line
For life-threatening limb bleeding, use a commercial tourniquet. For a deep junctional wound, pack it and hold pressure. One C-A-T Gen 7 plus one QuikClot gauze currently totals about $48.24; add gloves and a marker, then take the class that teaches you to use them.
Pair this with a stocked first aid kit and a hands-on Stop the Bleed course.
Frequently asked questions
How tight should a tourniquet be?
Tighten the windlass until the bleeding stops and no more blood soaks through. Pain is expected, but pain alone does not prove the tourniquet is working. If life-threatening bleeding continues, tighten it or place a second tourniquet above the first.
How long can a tourniquet stay on?
Leave it in place until EMS takes over. Record the application time on the tourniquet TIME strap if possible, tell responders when it went on, and never loosen it periodically because that can restart the bleeding.
Should I pack the wound or use a tourniquet?
Use a tourniquet for life-threatening bleeding from an arm or leg. If trained, pack deep wounds at the scalp, neck, shoulder or armpit, groin, or back when a tourniquet cannot be placed. Do not pack an open chest or abdominal wound; maintain direct pressure as appropriate and follow 911 instructions.