
Car Stuck in Snow: What to Do (Step by Step)
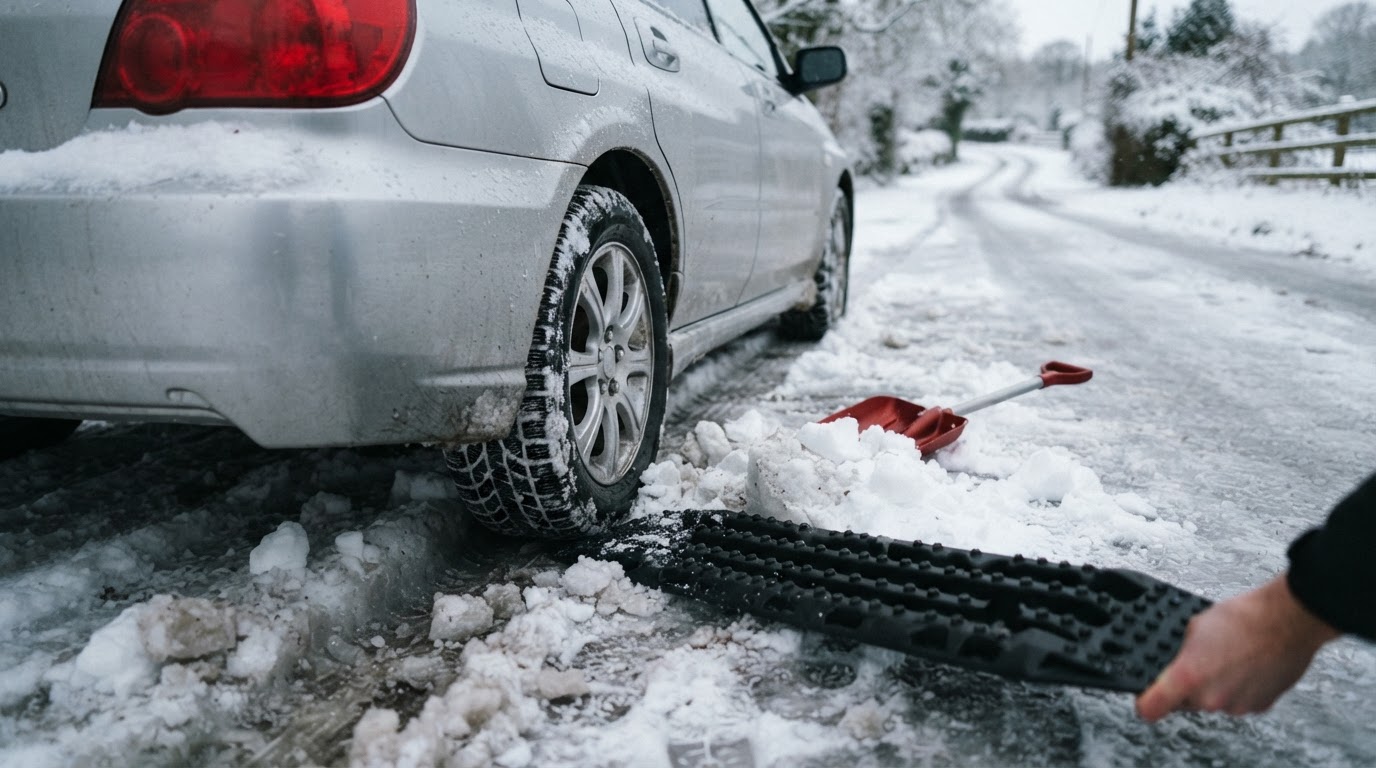
Step-by-step for getting an ordinary car unstuck from snow: clear packed snow from the wheels, lay traction, rock gently, and know when to call a tow.
This article contains affiliate links. If you buy through these links, we may earn a small commission at no extra cost to you.
The first minute after the car stops moving in snow decides whether you drive home or wait for a tow. Most of the damage happens in the next ten minutes, when the driver does the obvious thing: floors the gas pedal and holds it. Spinning burns the tires toward the cords, digs the car deeper, and turns a five-minute recovery into a call for help.
This is the order to run instead: stop, clear, rock, and only then call.
Step 1: Stop spinning the instant the wheels stop gripping
The instant the tires stop moving the car forward, take your foot off the gas and leave it off until you have a plan. Spinning a stationary tire on snow builds a polished ice patch under the tire in seconds, and the next time you touch the gas the wheel just spins in the same rut.
Shift to neutral or park, set the parking brake on any slope, and step out to look. A stuck car looks worse from inside than it is. From outside you can usually see whether you are high-centered on a snowdrift, sunk in a plow windrow, or spinning on glare ice.
Step 2: Clear the packed snow from the drive wheels
Most cars stuck in snow are stuck because compacted snow has packed under the chassis between the tires and the road. Before you add traction, you have to remove the packing.
A Rhino USA Folding Survival Shovel with Pick is the right tool. Use the flat blade to scoop packed snow out from in front of and behind each drive wheel, then switch to the pick end to break up the ice layer under the tire contact patch. Clear at least a foot of space in the direction you intend to drive and a foot to either side. A camping trowel works in a pinch; a floor mat pried out of the trunk works better than nothing.
This is the slowest part of the recovery and the one most people skip, which is why the next attempt fails.
Step 3: Lay traction under the drive wheels
With the packing gone, lay something for the tire to bite. The best options are cheap and often already in the garage.
- Kitty litter or floor-sweep absorbent is the classic. A coffee-can of Fresh Step Extreme Clay Non-Clumping Cat Litter, 21… dumped in front of and behind each drive wheel gives the tire a surface to grip. The clay does not melt ice; it gives the rubber something to push against. Carry a small jug in the trunk all winter and you have traction for the rest of the season.
- Traction mats are the purpose-built option. A pair of Emergency Devices Tire Traction Mats (2-Pack) unfold to 39 inches with grip teeth that bite as the wheels spin. They work in deeper snow where loose litter sinks out of reach, and fold flat enough to live in the trunk. Two mats run about $70; one mat only helps one wheel.
Sand freezes solid in the bag once it gets wet and stops pouring. Rock salt melts ice but gives the tire nothing to grip. Avoid both.
Step 4: Rock gently, in second or reverse
With the packing cleared and traction under the wheels, the recovery move is gentle rocking. Put the car in second gear (or reverse if second gear spins first), bring the revs up just slightly above idle, and let the clutch out slowly. The car should roll forward a foot or two. Stop. Reverse. Stop. Forward. Each cycle the tire gains a few more inches.
The mistake here is the same one that started the problem: too much gas. You want engine torque just above idle. If you can smell burning rubber or see smoke from the wheels, you are back to spinning, and you have to clear and lay traction again.
With an automatic, use low or second and feather the gas. With a manual, release the clutch as slowly as you can without stalling.
Step 5: Know when to stop and call
Most cars freed without a tow come free in the first fifteen minutes; after that, you are usually making things worse. The signs it is time to call:
- The tires have spun enough to smell hot or show visible cords.
- The car is high-centered on a drift and clearing under it would take an hour of digging.
- The nearest shoulder or plowed lane is more than a few car-lengths away.
If you have a friend with a truck and a tow strap, you can pull yourself out, with one caveat. The hooks on a recovery strap are designed to clip to a rated tow point or hitch, not to a bumper, control arm, or axle. A strap tied to a non-rated point will either pull the bumper off or snap the strap through a window. Read the owner manual for the recovery points before you ever get stuck, and carry a strap with rated hooks on both ends: a 2-inch by 20-foot, 20,000 lb recovery strap like the AXSIPEIX Nylon Tow Strap with Hooks clips straight to a tow eye.
If you do not have a friend with a truck and you have not unstuck yourself in twenty minutes, call for a tow. The driver will be there faster than the third recovery attempt will work, and your tires will still have tread when they get there.
If you wait in the car with the engine running for heat, clear the tailpipe of snow first and crack a window: the CDC warns a blocked exhaust lets carbon monoxide build up quickly inside the cabin.
What to do after you are out
Drive straight onto a plowed or treated surface before you stop to catch your breath, even if it means a low-speed crawl. Stopping in the same soft shoulder that just trapped you is how people end up stuck twice in one storm.
Once you are on solid ground, check the tire pressures before you drive home. A spin that lasted longer than ten seconds can drop a tire off the bead, and a low tire looks fine until it fails on the highway.
For what to keep in the car so the next storm is easier, our winter car emergency kit guide covers the kit list. For driving on snow before you get stuck, the winter driving guide covers speed, skids, and black ice. For the stranded-overnight case, the winter storm survival guide covers staying put and signaling for help. For the wet-road version of losing grip, the hydroplaning guide covers rain, tread, and pressure.